Storyboards: How To Translate Ideas Into Powerful Video
Contents
Are you a marketer who has decided to make some amazing videos as part of your marketing campaign?
Or
Are you a designer who is just starting out in the world of video production?
Well, I bet you’ve got a ton of ideas but are looking for an effective way to communicate them with your team or clients.
Storyboards are here to save you!
So the basic question is, “what is a storyboard?”
Let me give you the lowdown.
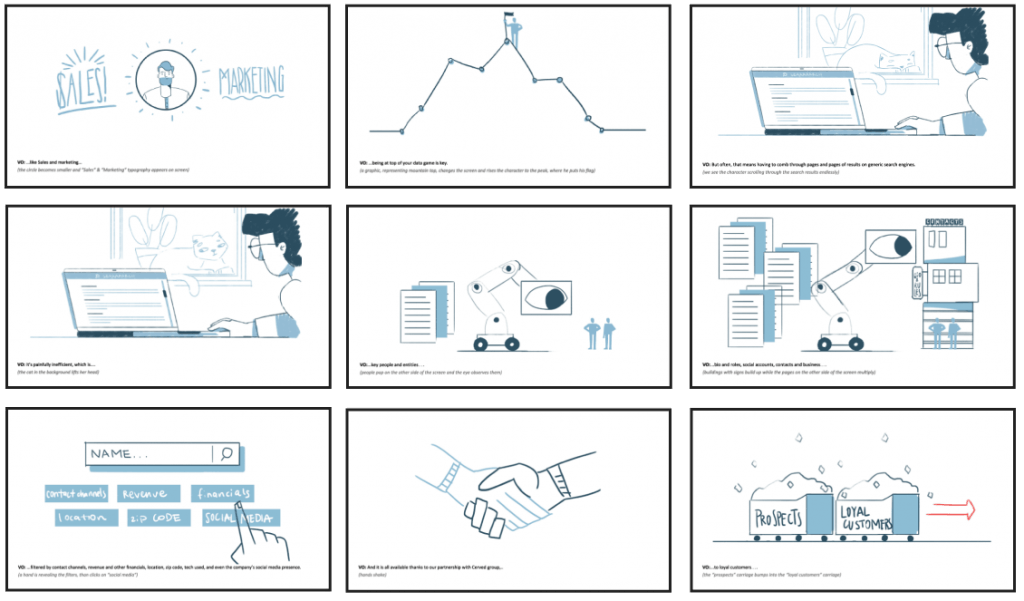
In simple terms, storyboards are a visual representation of your video script.
They consist of a series of hand-drawn pictures that give an idea of how your video will turn out.
In addition to these boxes filled with images, they will also contain short descriptions, making them look like a page out of a comic book.
The description contains dialogues, narrations, and detailed information on how the scene will unfold.
In this blog, we will take a look at why storyboarding is an essential part of pre-production, how to create great storyboards and even some online tools that will aid you in the process.
Shall we get going?
What is the purpose of a Storyboard?
Now that you have an answer to the question “what is a storyboard?”, let us see why they should be a part of your creative process.
“That book didn’t have any pictures”. This statement might be used as a joke oftentimes, but it is also a valid reason that discourages people from reading stuff.
When you present your script to your teammates or clients they will have a million questions in their minds. Moreover, no two people will picturise what you just said in the same way.
Using visual representations, aka storyboards, will entirely transform and simplify this scenario.
Voila! Now everyone will know what exactly you want the video to be and editing becomes so much easier.
You and the whole team or clients will now be in sync regarding how the video will be.
And what does that mean for you?
Better efficiency, quicker results along with fewer squabbles and chaos.
I mean, why would you NOT create storyboards?
Let’s go ahead and learn about the storyboarding process so that you can be producing fantastic videos in no time.
How to create a Storyboard
Nah, you don’t have to be a storyboard artist to create a good storyboard. When creating a storyboard, all you require are rough sketches.
Let us now look at the various steps involved in the process of creating a storyboard, shall we?
1. Have a written script
This step is a given and takes place before you begin the process of creating a storyboard.
You should have finalized your script before start making sketches.
Yeah, that’s it. Now let us get on with the other things you have to do.
2. Create blank boxes of a specific aspect ratio
Aspect ratios are very important for moviemakers and they’re usually determined after considering a lot of factors.
If you know the aspect ratio you’ll be producing your video in, great!
Print out empty frames in those dimensions to use as your storyboard template.
This will help you position your visual elements accordingly.
Now don’t worry if you haven't chosen the aspect ratio yet. Draw a series of frames in a size you see fit, such as 1:1.33 or 1:1.85, etc., and get storyboarding.
You can always make the necessary changes later on, which is the best thing about having storyboards.
3. Decide the characters

In case you want characters in your video, both animated and human, figure out their details before you start drawing them.
Do you think a tall, blue-eyed woman in a suit will be the best fit for your video? Write that down, give the woman a name. And if you use colors while you sketch, indicate the different attributes of your character. A little blue for her pantsuit, ebony for the hair, and likewise.
This way the characters you came up with will easily be imprinted in the minds of your team or clients and there wouldn’t be any discrepancies about these details.
Now, start drawing.
4. Add backgrounds
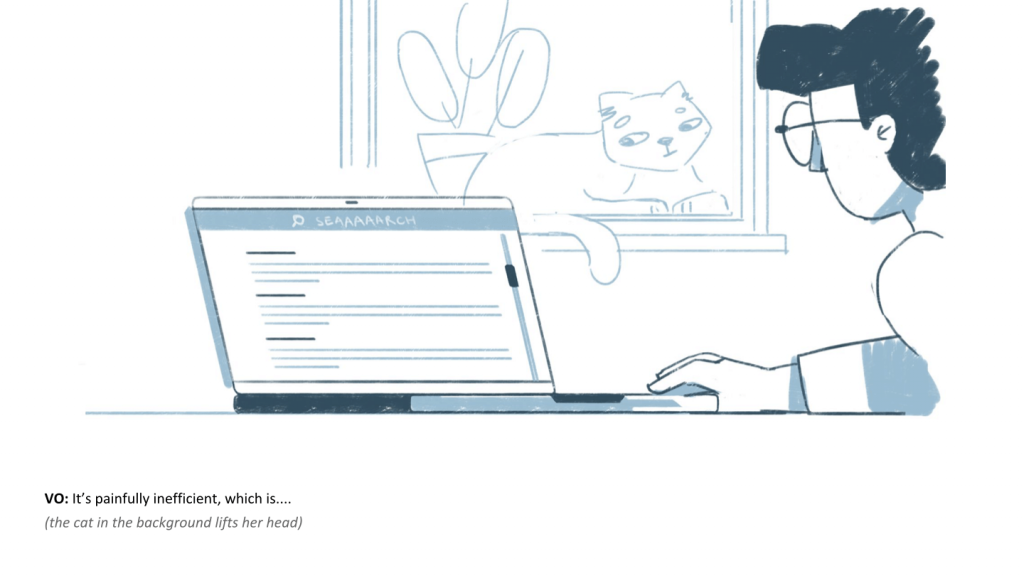
Once you have drawn the characters on your storyboard, draw a rough sketch of the kind of background you expect in each scene.
No, I am not asking you to become Bob Ross and create a few happy little accidents on your storyboard.
If you want a tree or a few buildings in the background, indicate their positions with respect to your characters.
If you are using a generic background, like a coffee shop, a garden, an office, etc., you can just mention it in the description.
5. Determine the camera angles
Your camera/perspective will be changing throughout the video. So when you prepare the storyboard, make sure that your camera angles are clearly mentioned.
You could also mention in the description what kinds of shots would work best for each scene.
If you want your camera to zoom in, for example, to show the person’s expression during an emotional moment, indicate that in the storyboard.
If possible, create more of these boxes indicating how the scene will look once the camera has zoomed in.
6. Indicate movements
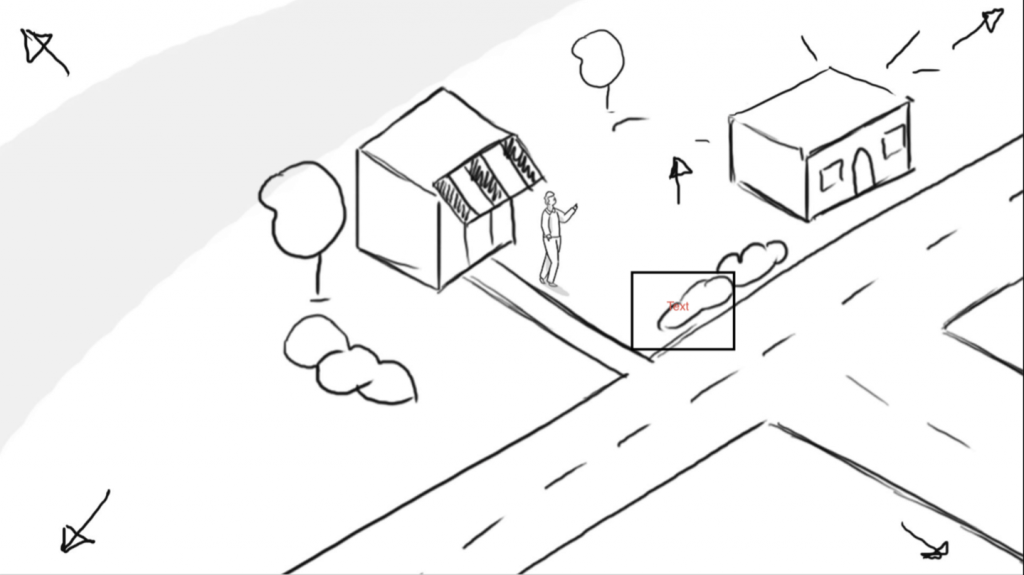
Just like camera movements, depict the motions of the characters and objects in your video when storyboarding.
Say they are jumping, waving, or running to the left. Use arrows or suitable notations to depict these movements.
If this seems a little too difficult, you can always describe the movements along with the rest of your notes attached to each box.
7. Include detailed descriptions
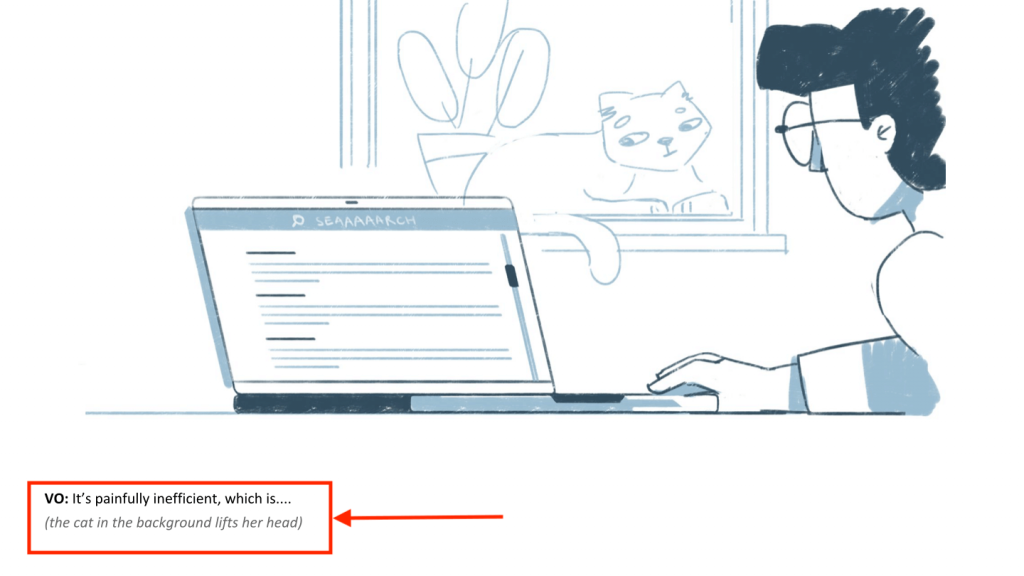
An important part of storyboarding is the descriptions that accompany each rectangle. They serve as a place to provide additional information about the scene, to show things that can’t be drawn.
Use the description to convey exactly what is happening in a particular shot, such as the character falling asleep, having a conversation, trees shedding their leaves, etc.
Describe the scene transitions and the duration of each particular shot.
In addition to that, also mention the dialogues of the characters, if any or what the voice-over says in each shot.
8. Number each box

This is a pretty simple but important step when it comes to storyboarding.
The heading says it all. Number each of your rectangles accurately in the sequential order. Even add a timestamp to say exactly when the scene will take place.
This is to make sure that no one who refers to the storyboard in the future will mess up the order.
If you’ve got multiple shots of the same scene, but with a different camera angle, number them 1A, 1B… etc.
9. Keep updating the Storyboard
The main use of storyboarding is to convey things better to your teammates and create changes based on their inputs.
So, share the storyboard with the whole team and make provisions by which they can keep making changes to it.
There you go, now you have an idea about all the necessary steps you need to follow while creating a storyboard. If these still images don’t satisfy you, go on and create animatics by adding dialogues and sound effects to the slides. Make use of an online tool such as Boords to create animatics. Doing this will give you an idea about how your final video will look.
Now let us check out a few tips to keep in mind while storyboarding.
Best Practices
You are now familiar with storyboards and how to make one. Here are a few pointers to go through before you grab your pencil and start drawing.
1. Don’t create elaborate, time-consuming drawings
I already mentioned that you don’t need drawing skills to create a storyboard. The drawings could be made up of something as simple as stick figures.
Yeah, you heard that right. Don’t waste your time and energy trying to perfect your drawings and going into the minute level of details.
Always keep in mind that this is not the final product and that a storyboard is a tool that will help achieve your desired results.
2. Use pencils/digital tools
Since your storyboard will undergo a number of changes until everyone is happy with the way it looks, it is wise to create it in a way that makes it easily editable.
Drawing upon a printed template using a pencil is a good idea. Remember to keep an eraser close by!
Another way to do this would be to use digital tools. Sharing it as a digital file will help you make changes easily, and even revert back to the previous form.
3. Create grids
Grids will help in determining the positioning of your characters and objects with respect to each other. They will also give you a sense of how far or near the character is.
4. Give easily comprehensible notations
When you give markers to indicate character/camera movement, make sure that they will easily be understood by everyone.
These indications are important and you shouldn’t be wondering what they mean when you are working on another project in the future.
Decide upon a few standard symbols that can be used for all your future storyboards upon consultation with your peers.
If you feel like you’re drowning in all this information, take a deep breath. You’re not alone. There are several tools that can help you with the process of storyboarding.
Best tools for storyboarding
You’ve come all this way to learn about storyboarding. Let me tell you about a few digital tools you can make use of before you leave.
1. Storyboard That
Storyboard That is an online tool that gives you several templates to make use of while creating a storyboard. You can choose from their image library or upload your own pictures.
They even encrypt your storyboards and allow easy conversion to powerpoint slides.
You get two 3 and 6 cell storyboards each week for free.
Price: $9.99- $14.99
2. Storyboarder
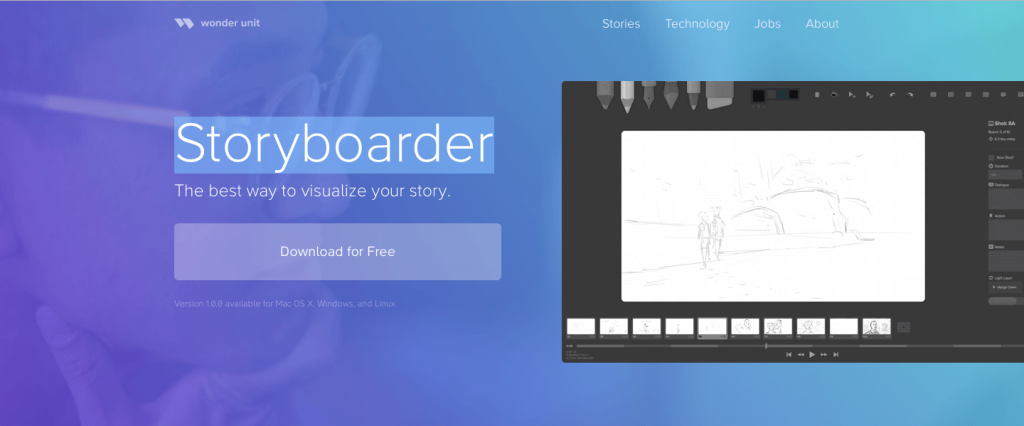
Wonder Unit’s Storyboarder helps you create simple drawings and add basic animations. You can use this tool to create and present animatics to your team. In addition to all these, they give you the provision to enter the timing of each shot.
If you created a drawing by hand on a piece of paper, you can use Storyboarder to scan and convert it into digital slides.
Price: Free
3. Studiobinder
Studiobinder offers storyboard creating services, especially for live-action video production. Their main goal is to reduce the time it takes to get usual storyboards organized and spend that time creating things instead. They allow maximum customization for your templates and shots and decide your aspect ratios.
Price: $29/month- $99/month
4. Boords
Boords will let you draw or use their stock images while creating storyboards. Their Animatic tool will help convert these storyboards into animatics.
They also give very efficiently reorganizing and editing options along with the provision to collect feedback from all your teammates or clients.
They say that their tools can be used for something as simple as a comic book to a feature film.
You can create two storyboards in their free version.
Price: $19/month- On-demand
5. Canva
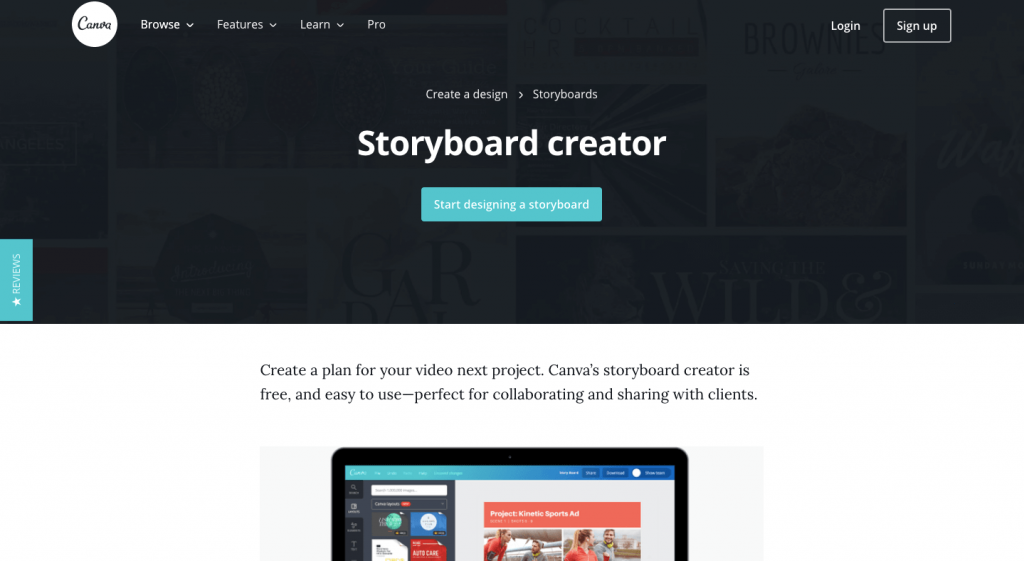
In Canva’s storyboard creator, you can either use pictures from their image library or upload your own. You can add different kinds of text (heading, subheading, etc.) and even change the fonts and formats as required.
You can collaborate with other members of your team or your clients for their inputs and download it once you are done.
They provide you a free plan with access to over 8000 templates.
Price: $12.95/team member/month - On-demand
Hello again, future storyboarder! We have given you the sacred knowledge required to create efficient storyboards. Now it is your turn to put it to good use. Get help from the online tools mentioned above, DIY it! Just get going!
In case you have any questions, do get in touch with Meera, our resident video expert.
Peace out!
.png)


