
Contents
Being the second biggest search engine in the world, it’s no mystery that everyone veers towards YouTube for publicity. Creating a YouTube channel is no rocket science. It’s a very simple process and doesn’t take too much effort.
However, it doesn’t end there. It’s all about putting out the right video content and making sure your channel is visible to the right audience. Taking this into account, we’re going to discuss how to create a successful YouTube channel.
Simply follow these steps to create a successful YouTube Channel.
Step 1: Register A Google account
If you already have one, ignore this step.
If you don’t, you need to create a Google account to watch, share and comment on YouTube videos.
To do that, go to YouTube.com. There will be ‘Sign in’ option.
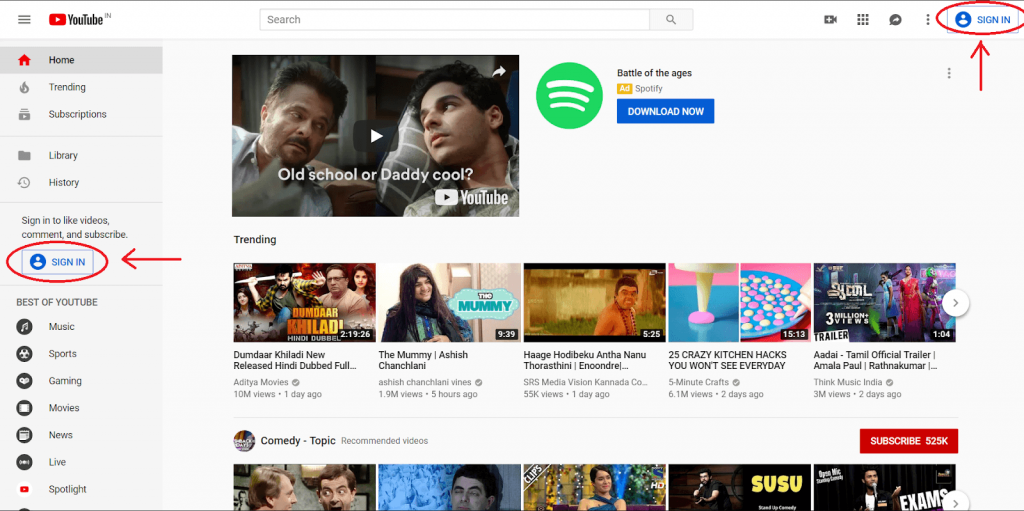
Click that and you’ll be redirected to the Google Sign-in page. Click ‘Create account’.
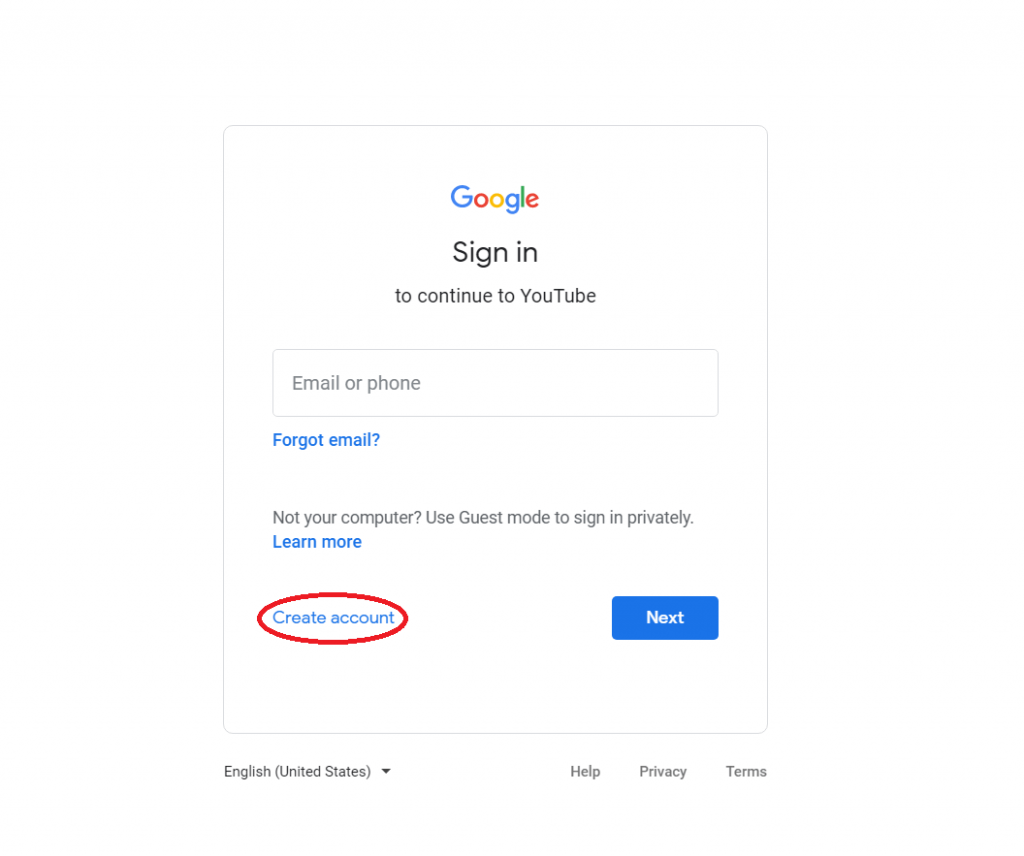
Once you’re there, follow the steps and create a Google account you’d like your channel to be associated with.
If you do already have an account, open YouTube and click ‘Sign In’. Once you’re redirected to the Google Sign-in page, just log in.
Step 2: Create the YouTube account/channel
Once the Google account is created and set up, head back to the YouTube page. Click your user icon on the top right corner and click ‘settings’ in the drop-down menu.

Once there, you will find an option that reads ‘Create a new account’. Click on it.

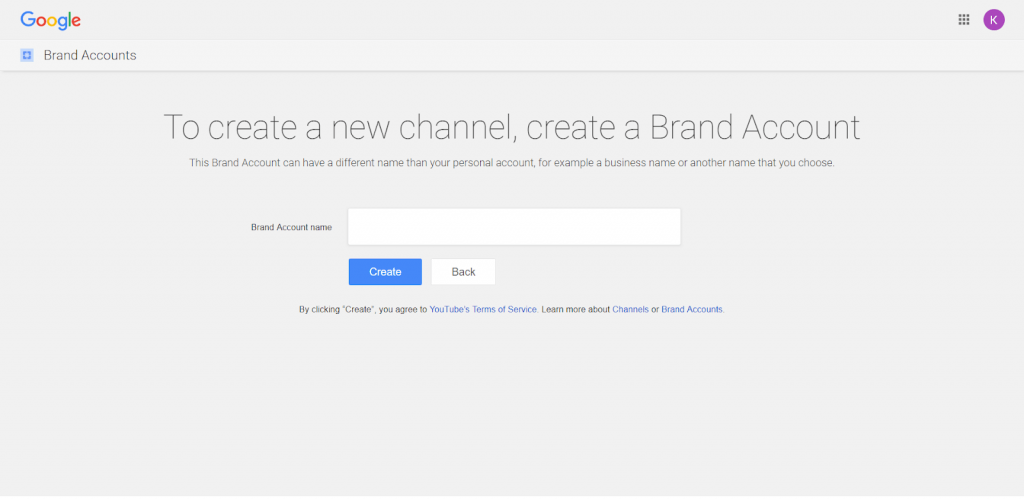
Now, you have the option of creating a personal account or a brand account. Here, we’re going to show you how to create a brand account. Once the pop-up opens, click ‘Use a business or other name’.
Here, you input your business name. It can be whatever name you want but it’s best if it correlates with the channel you want to represent.
Once that is done, you’ll be taken to the dashboard where the rest of the set-up process takes place.
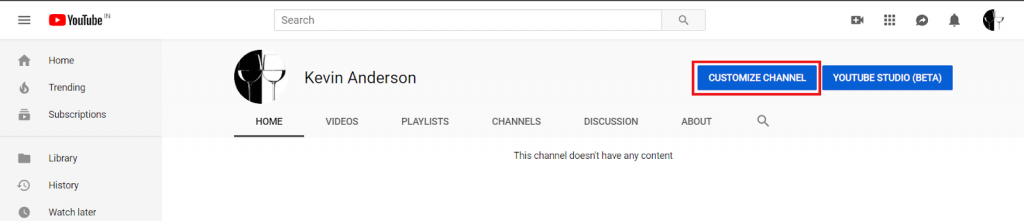
With this, your channel is officially created, but as a business, you’re trying to reach as many people as possible.
After this is where the channel customization process starts.
Step 3: Optimize the channel for discoverability
Let’s do this step by step. First, click ‘Customize Channel’ on your channel dashboard.
You’ll be taken to the basic channel page where you’ll see a cogwheel on the right.
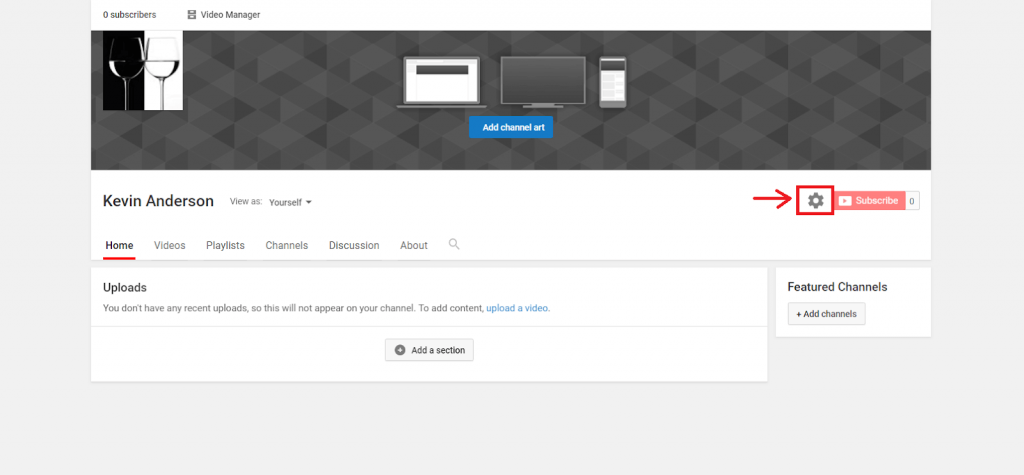
Click that and select ‘Advanced Settings’.
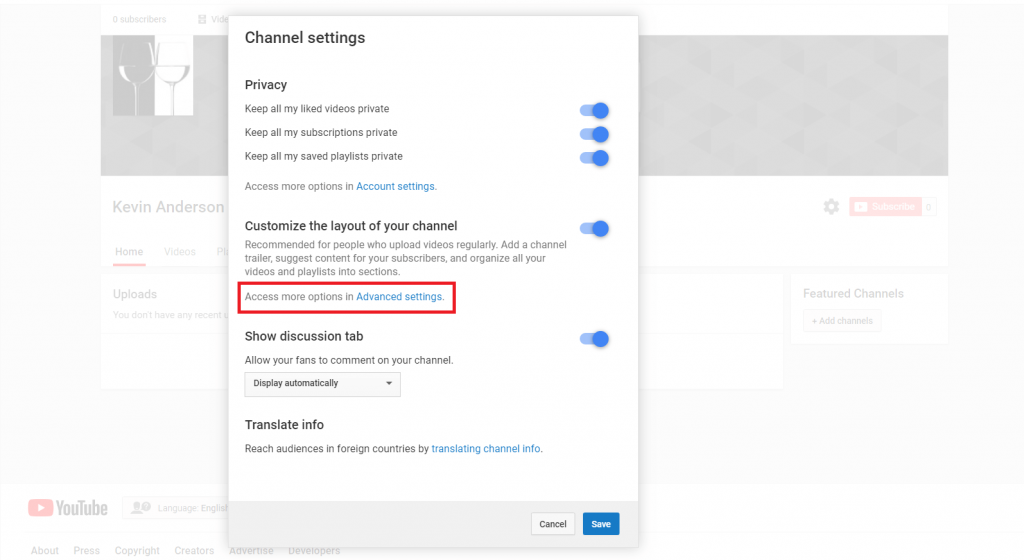
This page opens.
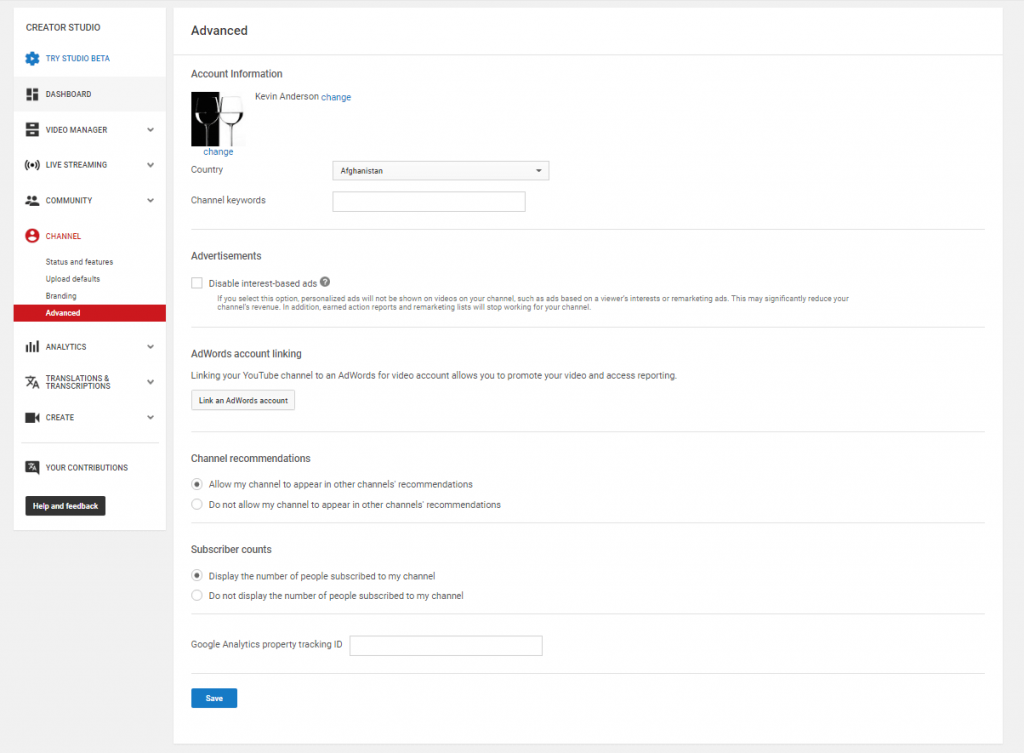
Now, this is where your channel’s basic information is added. This includes the country it’s based in and the keywords needed to help people discover your channel easily.
Channel keywords are basically words or phrases that give YouTube context and information about your channel. Using relevant keywords also help increase the visibility of your channel on YouTube.
Then, there are other options such as whether you’d like your channel to be a recommended channel on other pages. There’s also the option of linking the account to a Google Ads account and various other advertisement selections for the channel.
Once you’ve done that, click ‘Save’.
Step 4: Add links and channel descriptives
When customizing the channel, there are two categories to consider - descriptives and visuals. As of now, let’s look at the descriptive details.
You’re trying to describe your channel to potential subscribers. You want to add a very clear description of your channel and links to your webpage or social channels.
To do this, click the ‘About’ section on the dashboard.

Here you’ll be asked to fill in a description, email, and links.
For the description, add relevant and valuable keywords and tags to enhance discoverability. Remember, however, that YouTube does not allow ‘tag stuffing’, i.e., adding too many unwanted tags. In fact, they suspend or penalize your channel if you do so.
Next, you can add up to five links to your website and social media sites. To add links, click the ‘+ links’ at the bottom and add the links.
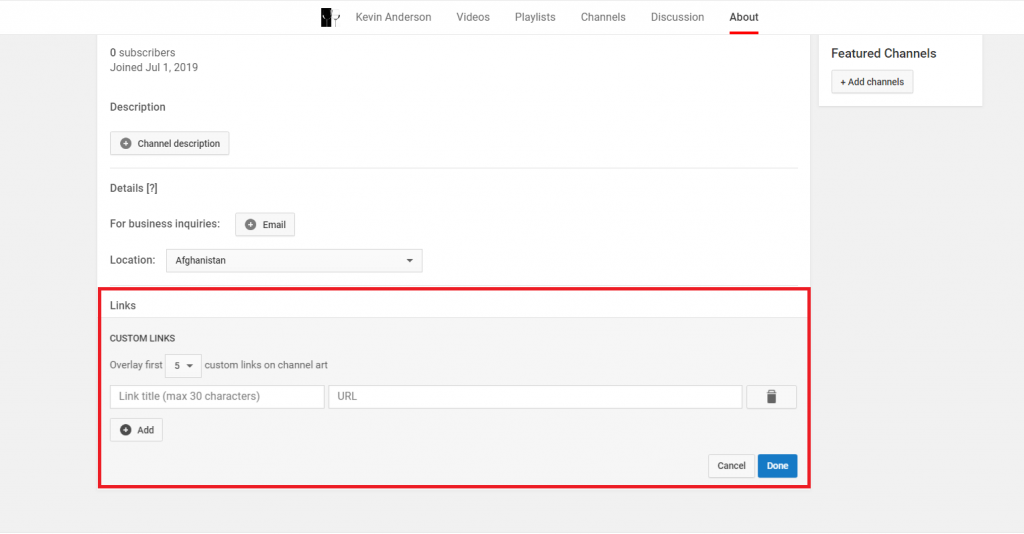
These links then overlay your channel art, meaning it shows up on the banner of the page.

Once this portion is done, move onto the visual part of the customization - the channel art and profile photo.
Step 5: Upload profile photo and banner image
Let’s see how to create a YouTube channel art now, shall we?
Adding a profile photo is a very straight-forward process. While still in the dashboard, move the cursor to the profile photo section and select the change icon.
You will get a message like this. Click ‘edit’.
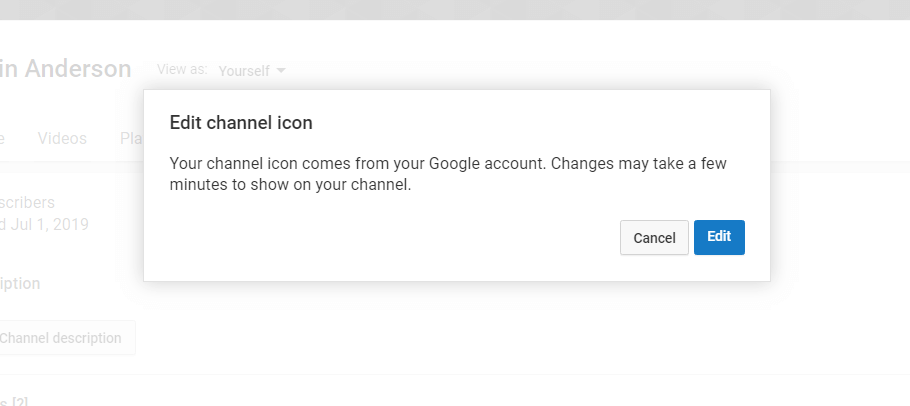
Once you click it, you’ll be taken to another page where you can edit your account information including the profile photo.
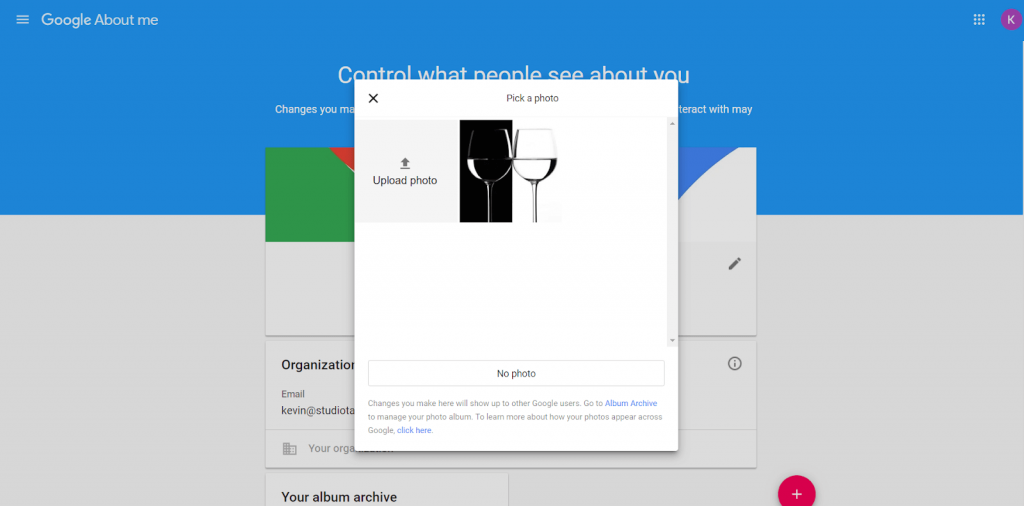
Once the photo is uploaded and changed, you can move onto the banner image.
To add the banner image, move the cursor to the top right corner of the grey space where a pencil shows up. Click that and select ‘Edit channel art’.
From there, simply choose your image and upload it.
The banner image is a tricky part because it has to match the dimensions of various platforms, like desktop, television, and mobile. Fortunately, Google has a handy image that suggests the best dimensions for each platform.
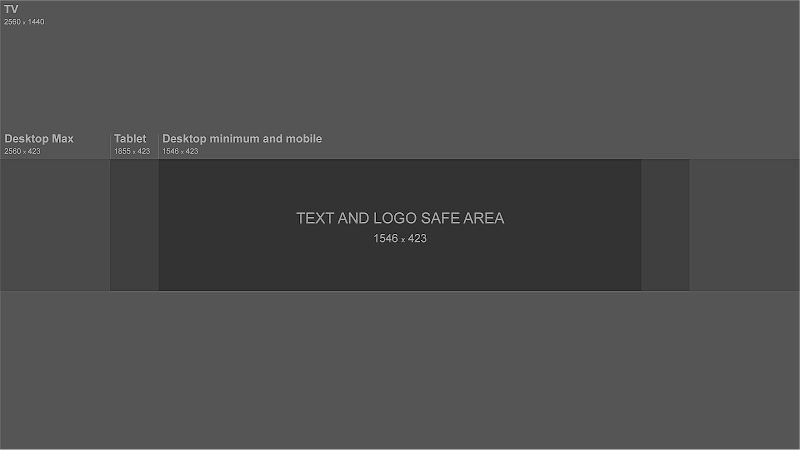
From the image, it’s clear the best dimensions range from 1546 x 423 px to 2560 x 423 px. YouTube especially recommends 2560 x 1440.
Also to be noted is that the image size shouldn’t be more than 6MB.
Step 6: Upload a video
You’re now ready to add your first video. This is a very straight forward step.
To do this, simply go to the top right corner where you’ll find the upload icon that looks like this.

Click that and you have the option of selecting ‘Upload video’ or ‘Go live’.
Select ‘Upload video’.
From there, it’s again a matter of choosing the video and uploading it.
Simple, right?
With these steps followed, you officially have a fully functioning YouTube channel. But that isn’t enough!
There’s more to your channel than just simply uploading a video. Let’s now take a look at 5 ways to get the most out of your channel.
5 Best practices to enhance your YouTube channel
Follow these tips to stay ahead of the game.
1. Add a channel trailer
This is key. A channel trailer is a preview of what your channel is about. For first time viewers, this is what determines if your channel is right for them, so it has to be effective to grab their interest.
A channel trailer essentially turns viewers into subscribers, so a lot of thought has to go into making the perfect one.
If you’re wondering where, to begin with, the channel trailer, check out this guide on how to create a killer YouTube channel trailer.
2. Optimize your content
Adding valuable keywords to your channel description gives you a boost in the search rankings, more suggested views and in time, more subscribers.
This is because your description doesn’t appear only on your channel. It becomes optimized to search engines and is more likely to appear in the suggested channel categories.
These keywords are not only important for the channel description. You should also use these for your video titles and descriptions.
By making your channel easily discoverable, there’s more traffic and that’s good news!
In case you’re wondering how to find these keywords, there are few tools that will help.
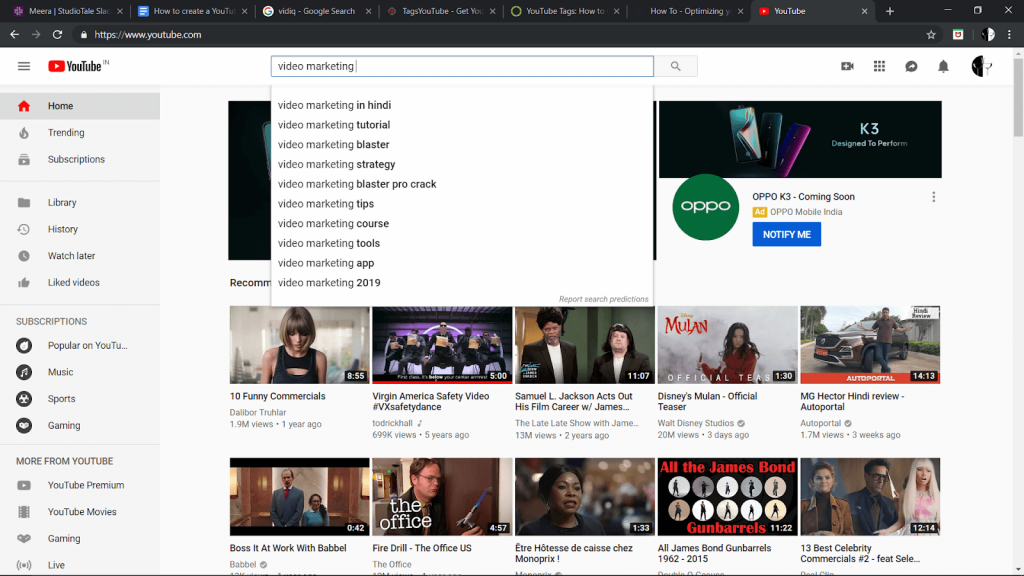
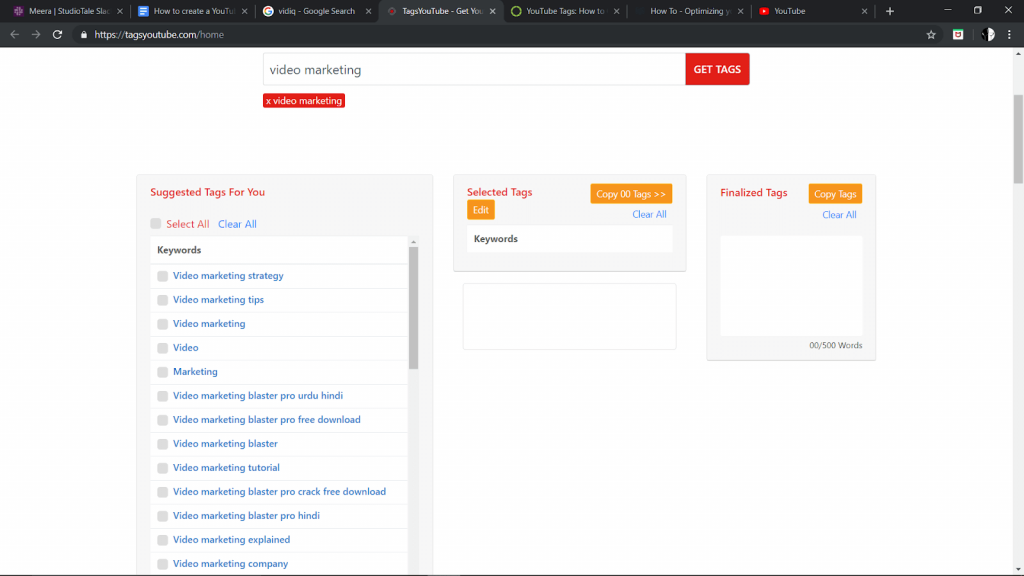
For one, you could simply use YouTube’s Autocomplete! Simply type your main keyword into the YouTube search bar and Autocomplete will give you a list of suggestions.
For example, you’re uploading a video targeted the keyword “video marketing”. Just type into the search bar and see what they suggest.
Or you could use TagsYouTube for help. Simply type the keyword and it will give a list of suggestions you could use for your channel.
3. Add links to your website or social channels
We’ve already discussed how to add links to your YouTube channel, but why do you need it?
Redirecting your audience to your website and social channels will drive a lot of traffic. This will then help increase the number of subscribers and possible conversions.
At the end of it, by using all your social platforms, you increase viewership that in turn creates more subscribers to your channel and business.
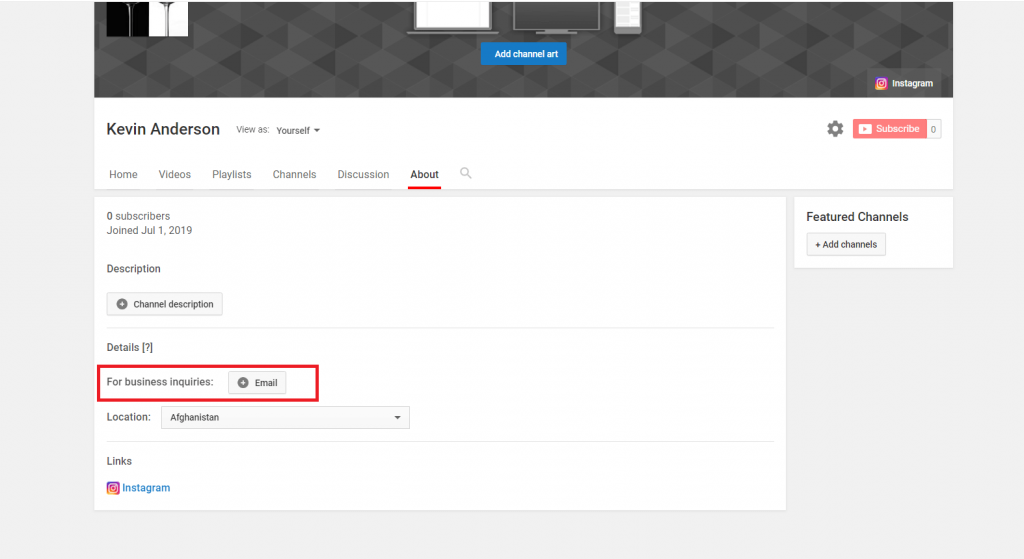
4. Add your contact details
When you have a business account, it’s helpful if interested people can contact you. YouTube has a section to add your email address for business enquiries.
To add your email address, simply go back to ‘About’ and you’ll find a slot for your email ID.
5. Stay consistent
You’re dead wrong if you think posting one video and leaving it at that is enough. Creating a successful channel takes time and effort. Your subscribers and viewers will lose interest if you don’t post regularly.
Hence, be sure to plan your videos ahead of time.
With these steps followed, you’re ready to get started on YouTube! So, go ahead and create your own channel
If at all you still have questions, don’t refrain from contacting us. We are more than happy to be of assistance.


